How do I create a team activity?
- Click on Activities at the bottom of the overview.
- Click on in the bottom right corner
- Now click + Activity
Here you can define all important information and settings for the activity. To get all options displayed, you can click on Advanced in the upper right corner.
You can put in the following information:
- Title (Name of the Activity)
- If it is a payment activity
- Activity type
- Match
- Practice
- Social activity
- Tournament
- Meeting
- Member activity
- ((as a club, you can also define your own activity types))
- Date, Starting time, End time
- Does the activity end on another day? (e.g. a weekend tournament or a summer camp over several days)
- Repeat activity
- If the activity is to be created and repeated every week/every other week/etc. in a certain period of time.
- Recommended for fixed training times
- Place, meeting place, pickup time
- Selection type
- max number of participants (automatically blocks registrations when the maximum number is reached)
- Whether trainers count in the maximum number of participants
- Registration start (if the registration should be possible only at a certain time)
- Registration deadline
- Waiting list
- Hide unsubscribe button for registered persons (for binding registrations)
- Hide registration status from participants
- Participants can NOT see who is logged in
- Participants can only see how many are logged in
- Participants can only see how many are logged in
- Reminders 2 and/or 5 days before the activity
- Volunteer tasks
- Driving
- Player of the Match
- Comments
Most of the above features might be self-explanatory for you, but here we'll explain the difference between the various login types you can choose.
Normal
The normal selection type, where a person registers for the activity, indicating whether he/she can come or not.
The registrations are automatically closed when the maximum number of participants is reached.
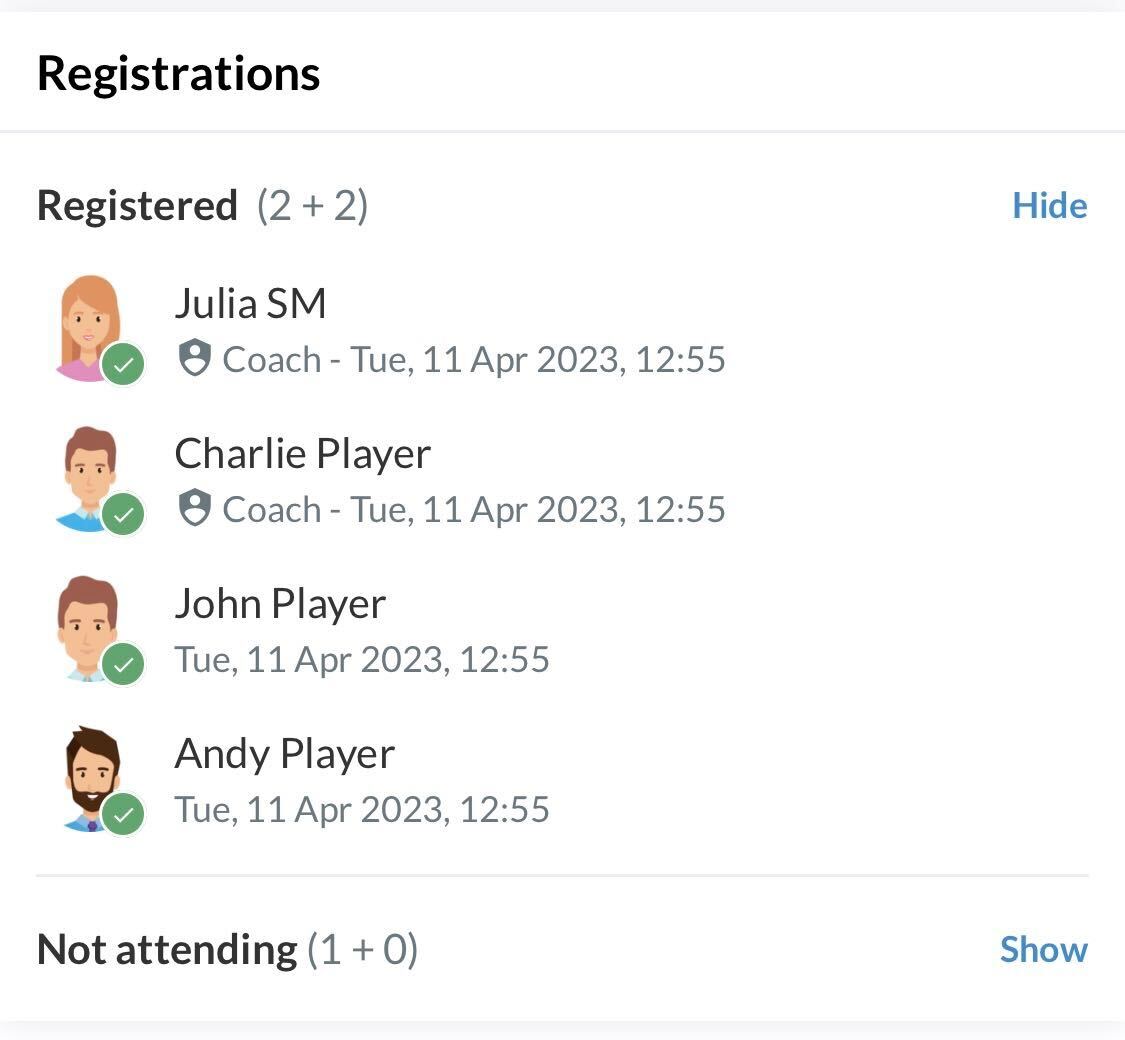
Note: As a trainer you can register and unregister people for activities. Click on the edit button in the activity and manage Registrations.
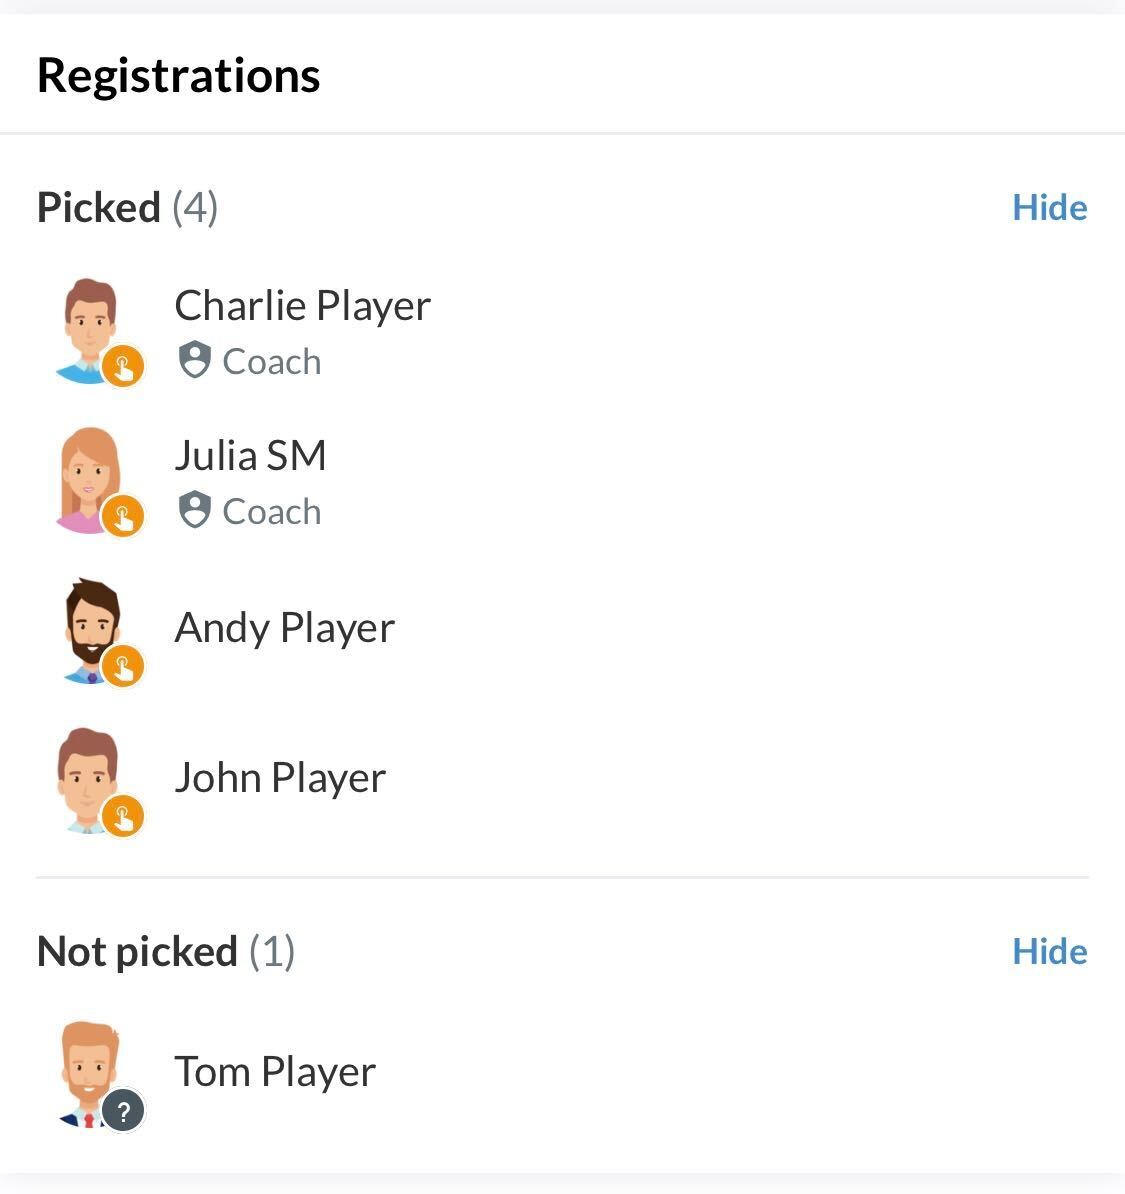
Selection
This type of registration can be used if you, as a trainer, want to select who can register for the activity. This means that only selected people can register at the end.
- When creating an activity, choose the selection type Selection and add any other information for the activity
- click Create
- Click on in the bottom right corner
- Click on Registration
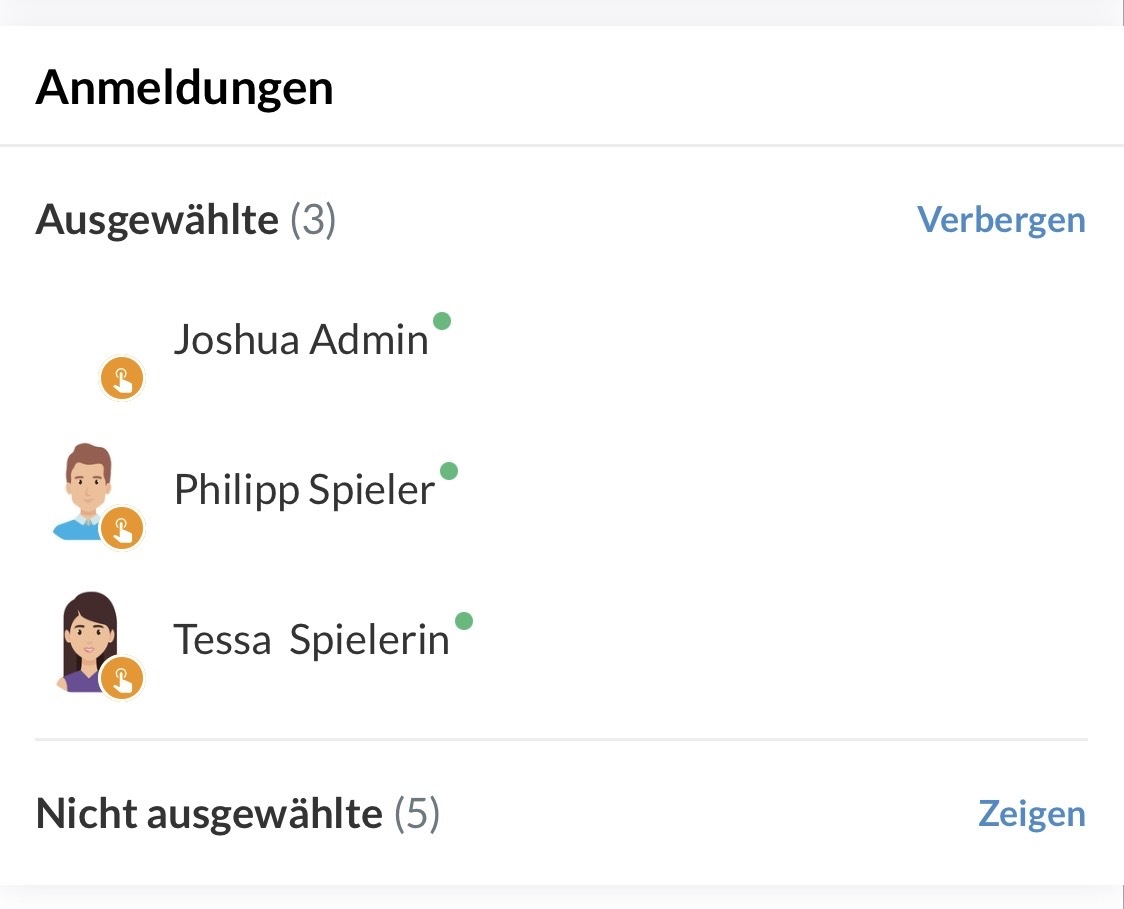
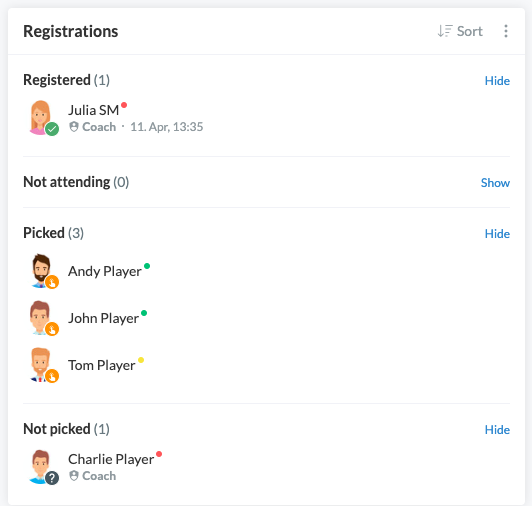
- Click on Not picked and then click the orange button to select one or more people
- End this process with the green Save button
The selected team members will now have the option to log in or log out - just like the normal selection type login type.
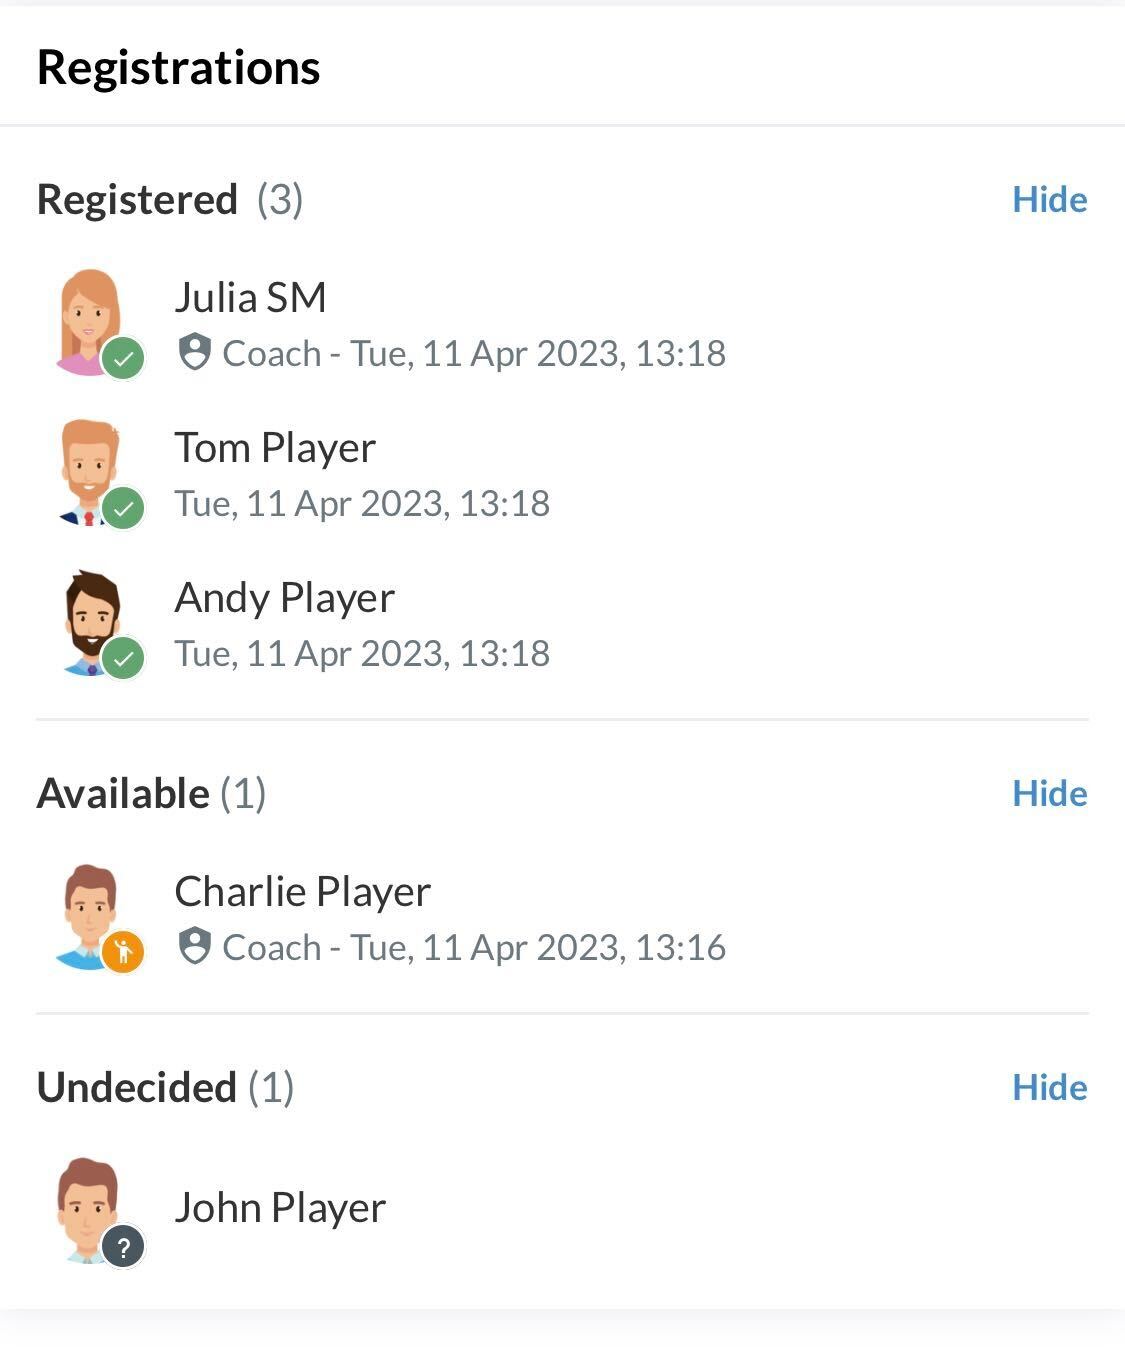
Available
Members make themselves available. After that, it is your task as a trainer to register certain members. So this selection type works virtually opposite to Selected, where you can select members who can then sign up.
When creating an activity, select the Available selection type. The members can now make themselves available. You can then sign them up as follows:
- Click on in the bottom right corner
- Click on Registrations
- Click on the section Available and then on the green button to register the member
- End this process with the green Save button
Everybody is attending
This selection type can be used when all team members should be listed as logged in for a specific activity. This means that members must actively sign out here if they cannot attend the activity.
This type of selection is typically used for fixed weekly training times where members are expected to show up. This way, members are actively asked to let you know if they cannot attend.
No registrations
This selection type can be used if you don't want people to be able to sign up for the activity. So instead you can indicate that an activity is taking place.
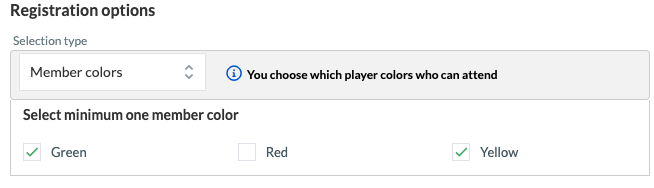
Member colors
This selection type allows the selection of members based on previously assigned member colors.
It is currently not yet possible in the SportMember app as a coach to assign member colors. This is currently only possible on the PC.
However, once member colors have been defined on the PC, you will be able to select the appropriate people in the app.
- When creating an activity, select the selection type Member colors
- Choose at least one member color here
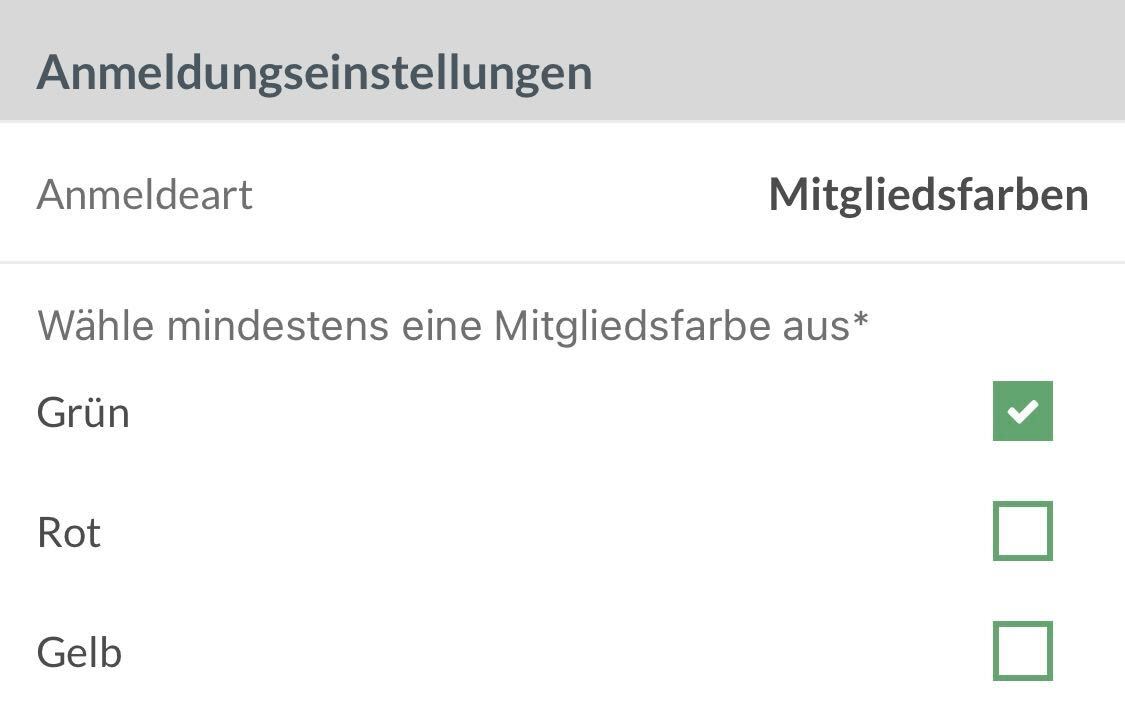
In the activity you can then see that exactly the member color(s) has been selected.
These members can now register for the activity.
- Click Team on the left side of the Desktop
- Click Calendar in the left overview
- Click on the green button Create activity in the upper right corner or simply click on the appropriate day in the calendar
Here you can define all important information and settings for the activity.
- Title (Name of the Activity)
- Activity type
- Match
- Practice
- Social activity
- Tournament
- Meeting
- Member activity
- etc.
- (as a club, you can also define your own activity types)
- Date, Starting time, End time
- Does the activity end on another day? (e.g. a weekend tournament or a summer camp over several days)
- Repeat activity
- If the activity is to be created and repeated every week/every other week/etc. in a certain period of time.
- Recommended for fixed training times
- IMPORTANT: put in a date in Repeat weekly up to and including
- Comments
Click Next, then you can define more information about:
- Place, meeting place, pickup time
- Selection type
- Max number of participants (automatically blocks registrations when the maximum number is reached)
- Should trainers count in the maximum number of participants
- Registration start (if the registration should be possible only at a certain time)
- Registration deadline
- Waiting list
- Hide unsubscribe button for registered persons (for binding registrations)
- Hide registration status from participants
- Participants can NOT see who is logged in
- Participants can only see how many are logged in
- Reminders 2 and/or 5 days before the activity
Click Next again. Now you can put in the information regarding Tasks and extra infos.
- Volunteer tasks
- Driving
- Player of the Match
- Extra (you can attach a file)
Most of the above features might be self-explanatory for you, but here we'll explain the difference between the various login types you can choose.
Normal
The normal registration type, where a person registers for the activity, indicating whether he/she can come or not.
The registrations are automatically closed when the maximum number of participants is reached.

Note: As a trainer, you can register and unregister people for activities. Click the three small dots in the Registration field and then click Registration.
Selection
This selection type can be used if you as a trainer want to select who can register for the activity. This means that only selected people can register at the end.
- Choose the selcection type Available when creating the activity
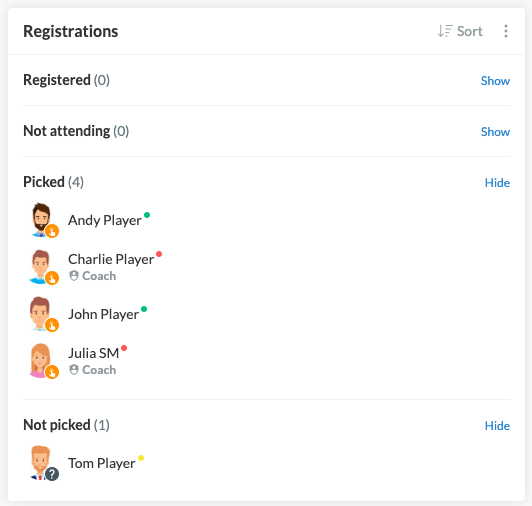
- After creating the activity, click in the Registration field.
- Click Registration
- Now click the orange button to add one or more persons to the activity
- Finish this process by clicking the green Save button
The selected team members will now have the option to log in or log out - just like the normal selection type.
Note: As a trainer you always have the possibility to register or deregister members directly without having to select them beforehand.
Available
Members make themselves available. After that, it is your task as a trainer to register certain members.
So this selection type works practically opposite to Selected, where you can select members who can then sign up.
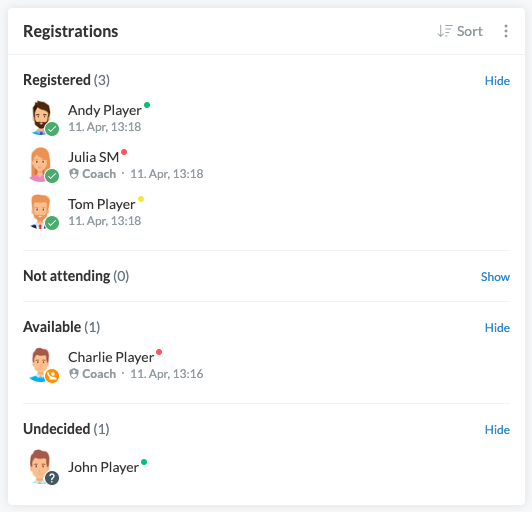
When creating an activity, choose the selection type Available. The members can now make themselves available. You can then register them as follows:
- Choose the selcection type Available when creating the activity
- After creating the activity, click in the Registration field.
- Click Registration
- Now click the green button to add one or more persons to the activity
- Finish this process by clicking the green Save button
Everybody is attending
This selection type can be used when all team members should be listed as logged in for a specific activity. This means that members must actively sign out here if they cannot attend the activity.
This type of selection is typically used for fixed weekly training times where members are expected to show up. This way, members are actively asked to let you know if they cannot attend.
No registrations
This selection type can be used if you don't want people to be able to sign up for the activity. So instead you can indicate that an activity is taking place.
Member colors
This selection type allows the selection of members based on previously assigned member colors.
- When creating an activity, choose the selection type Member colors
- Select at least one member color here
- Finish this process with the green Save button
In the activity you can then see that exactly the member color(s) has been selected.
These members can now sign up for the activity.
Cet article vous a-t-il été utile ?
0 sur 1 ont trouvé cela utile